HOW TO BUILD AN OUTDOOR SHOWER
WITH HOT WATER: STEP BY STEP GUIDE
There's nothing that beats an outdoor shower on a hot day. Whether you want to enjoy a nice hot shower under the stars or rinse off before entering your house, an outdoor shower is your best bet. Besides, since outdoor showers come in various styles, they're seamless to build and adapt when you understand the basics.
Whether you live near the beach, have a garden lot, or have a dog, a hot shower is invaluable. It is a great addition to any pool area or backyard. You can easily purchase a pre-made outdoor shower from My Sauna World. In this guide, you'll learn everything you need to know about how to build an outdoor shower with hot water.
How to Build an Outdoor Shower Step 1: Materials Needed
If you're wondering how to build an outdoor shower, you'll need several materials, including the following:
Tools
-
Circular saw
-
Speed square
-
Tape measure
-
6-foot step ladder
-
Stud finder
-
Manual jab saw
-
Shovel
-
Post hole digger
-
Electric mitre saw
-
Bubble level
-
Showerhead
-
Shower rod and curtain
-
Deck screws
-
Gravel
-
Saw
-
Nautical beverage holders
-
Tube cutter or hacksaw
-
Drill
-
Drill bits
-
Safety glasses
Materials
-
Drainage rock
-
Quick-set concrete
-
Red cedar fence boards
-
Construction screws
-
Shear face mount joist
-
Plumbing trees
-
PEX pipe
-
Showerhead assembly
-
Silicone-based caulk
-
Single-handle shower faucet
-
Shower mast
-
Thread connectors for shower head and hose
-
Valves for cold and hot water controls
-
Garden hose for cold and hot water
-
T connector
-
Waterproof tape
You may have some of these materials, but you'll need to purchase others.
How to Build an Outdoor Shower Step 2: Choosing a Location
The next step is to choose the appropriate location for your outdoor shower. This will depend on the proximity to water supply, drainage, privacy, etc. First, the essential part is the shower itself, and most enthusiasts place it by the side or back entrance to their houses. By doing so, you won't track dirt or sand on the floors, and this would also be a private area not visible to the neighbors. Also, selecting a space near your existing faucets is important to save some plumbing costs. So, if you want to learn how to build an outdoor shower, ensure you pick the right spot near the water source, drainage, and a private area where you can rinse off in peace.

How to Build an Outdoor Shower Step 3: Building the Shower Frame
Seal Your Fittings
First, use waterproof tape to seal the fittings. To do this, wrap the tape around the fitting thread several times to seal the joints, stop leaks and make it easier to tighten the attachments.
Drill a Hole for the Pipe
Attach a 16mm drill bit to the cordless drill and drill a hole through the base of the feature wall for your hose fitting.
Cut the Copper Pipe
Mark the copper pipe at a length long enough to fit through your feature wall. Leave some space at either end to fit the necessary attachments. Attach the pipe cutter to the mark and rotate your pipe cutter around the pipe and tighten the cutter. You can repeat this process until you cut the pipe.
Put the Fittings Together
Insert the garden hose attachment to one end of your copper pipe and inserting the copper pipe through the hole you made in the feature wall. Next, connect the U-bend attachment to the other end of your copper pipe.
Attach the Shower Tap
Next is determining how high you want your shower tap to be and marking the spot on the wall. Put your copper pipe in place and mark it at your desired height. You can use your pipe cutter to cut the pipe.
Securing the Tap
Insert your copper pipe into the U-bend attachment at the bottom and attaching the shower tap at the other end. You should put two brackets around the pipe near the shower tap and use your drills to secure these brackets to the wall.
Attach the Copper Pipe
Mark the pipe at your desired height for the shower head and cut it with a pipe cutter, then attach it to the shower tap. You can use your drill to secure it to the wall with brackets.
Attach the Shower Head and Hose
Attach a U-bend piece to the end of the pipe and attach the end of the shower hose to the U-bend attachment. Secure your shower head into its holder.
Styling Your Shower Area
You can finish by styling your new shower area with plants, a chair, or anything else you like. Now, you can start enjoying showering in the great outdoors.
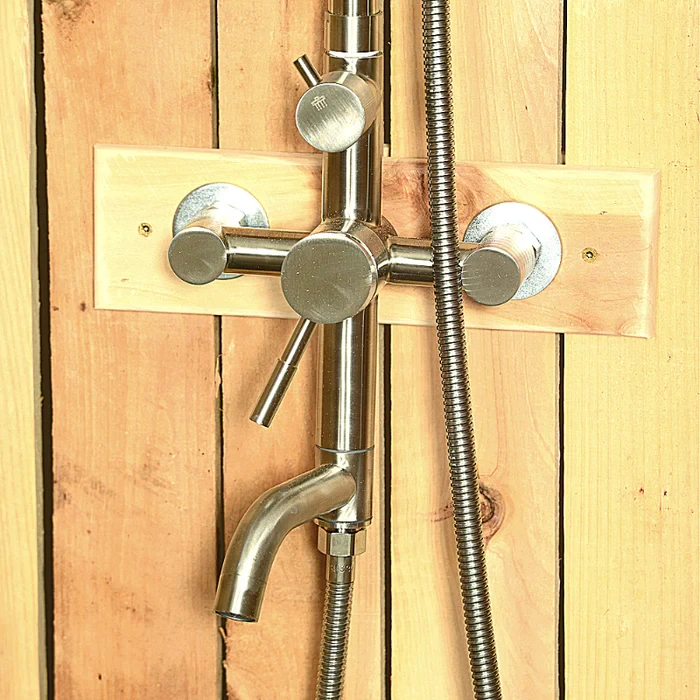
How to Build an Outdoor Shower Step 4: Installing Plumbing Fixtures
Your outdoor shower plumbing depends on where you want it to be located and whether the fixture is permanent or portable. However, the installation process can be easy or challenging depending on the plumbing requirements. Due to this, there are several alternatives for the water supply.
The simplest way is to hook up directly to your garden hose by attaching tubing and a durable stainless brass or steel showerhead to the end of the hose for a single-hose setup using cold water. For tower or pedestal showers, you can hook them to an outdoor plumbing line and place them anywhere in your yard as semi-portable outdoor showers with cold and hot water.
You can use the standard shower valve, a twin thermostatic valve with one handle controlling the temperature and another to turn the water flow on and off to control a single shower. You can also use the outdoor shower mixer or manual valve that mixes hot and cold water from the taps before sending the water to the shower head.
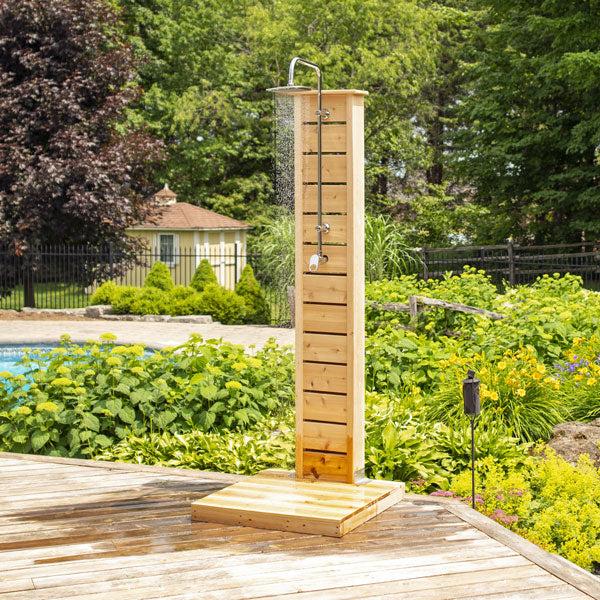
How to Build an Outdoor Shower Step 5: Connecting to Water Supply
You can connect your water supply using your existing garden hose or run a new water line. You can also use fixed plumbing pipes to ensure consistent use of your outdoor shower and not just use it for rinsing off after a hot day in the sun. However, you can tap into your existing water supply, fix your PEX pipe into each tee's open end, and run it to the shower handle rough-in point. From there, you can connect the shower faucet and handle per your manufacturer's instructions.
How to Build an Outdoor Shower Step 6: Drainage
Proper drainage is crucial to ensure the water from your outdoor shower is correctly directed away from your home. There are different laws and regulations for different areas. Besides, a clean shower drain is crucial for an efficient and healthy plumbing system. For instance, when you disregard the small clogs or pile up, such as dirt and hair, they will accumulate and can be a serious plumbing issue. Therefore, due to the regulatory requirements, you must check your local building codes and hire a professional plumber when installing your outdoor shower.
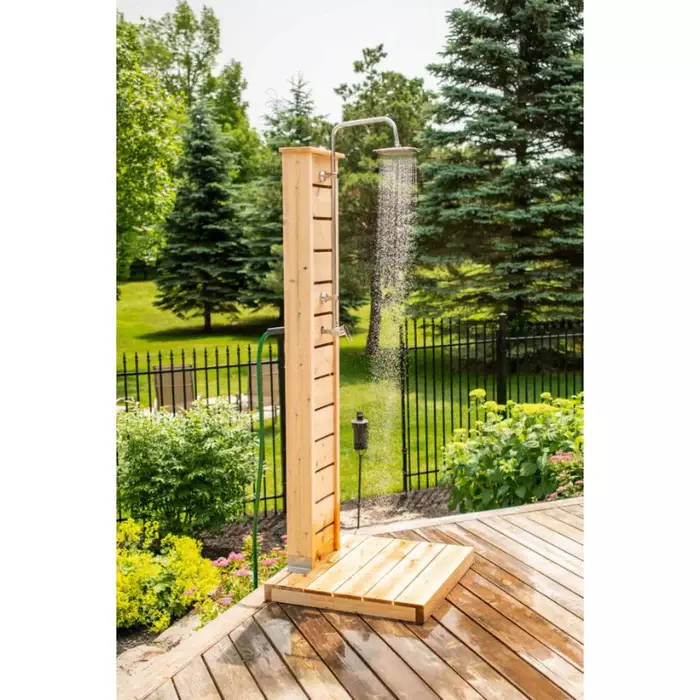
How to Build an Outdoor Shower Step 7: Adding Hot Water
If you're looking to add hot water to your outdoor shower, there are several options you can use. The easiest option is using the plumbing from your house, but the shower must be in the correct location. You can also install a water heater or use solar heating. A tankless gas water heater is another option that starts when you open your faucet. They provide a constant water flow since they operate with the water pressure.
Conclusion
An outdoor shower is a worthy investment in your home that can help you relax after a long day and add value to your home. Following the steps discussed above, you can build your outdoor shower or get pre-made outdoor showers from My Sauna World that are easy to assemble and guaranteed to work. If you have any questions, you can always contact the support team.
SIGN UP. SAVE BIG.
Subscribe to be the first to know about our special monthly sauna sales, sent right to your inbox.

About the Author
Adam Fromson
Adam Fromson, co-founder of My Sauna World, loves saunas and their transformative health benefits. With years of experience exploring sauna culture and its impact on health and wellness, Adam is passionate about helping others discover the life-changing benefits of saunas for themselves.
Let customers speak for us
from 384 reviews
Good communication, easy delivery, easy set up, easy operation, great value. Recommended!
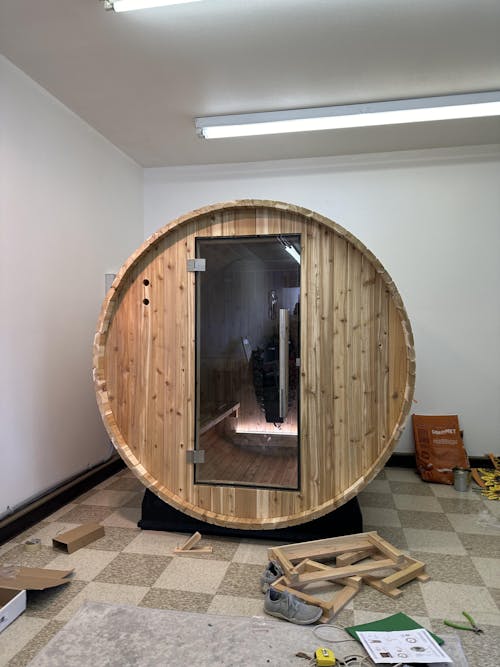
We ordered the 4 person barrel sauna and love it! We wanted a little extra space for the 2 of us/guests and it’s great. We could definitely fit 4 people in it if we needed. We use it every single day. It took about 10 weeks to get here because they build it specifically for the order. Putting the barrel together was fairly easy with 2 people. The electrical and the heater definitely required an electrician to install as we could have not done it alone.
We ordered the biggest heater (harvia spirit 8kw) and it heats up the sauna in about 15 mins inside our 40-50° garage. Overall this style of sauna is hotter and you sweat a lot faster than in an infrared sauna. I truly 10/10 recommend!
Pic is of us in the middle of building it.
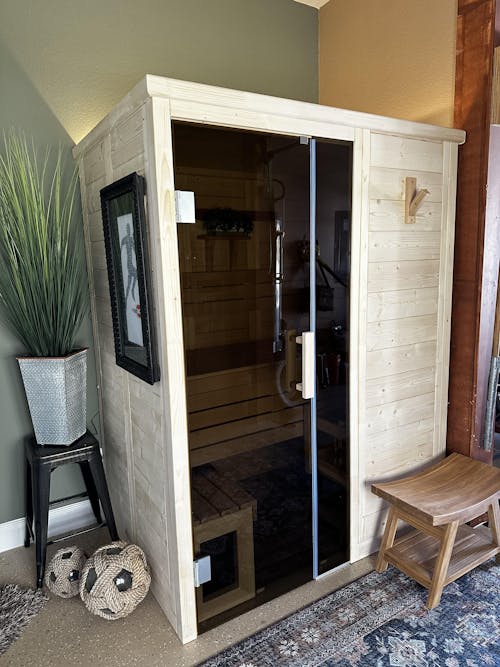
Took me about 6 hours over 2 evenings to assemble almost all by myself. Had a pro run a new circuit from my panel. Very well made and assembly was straightforward. Heater is well sized and reaches operating temperature in under 30 minutes.
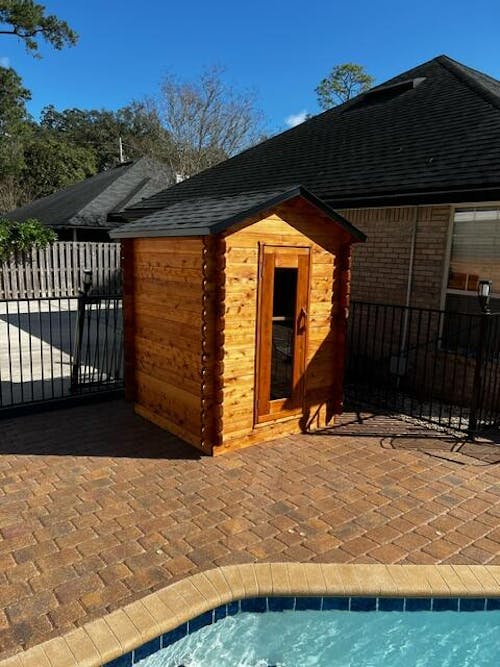
Great sauna very easy to assemble
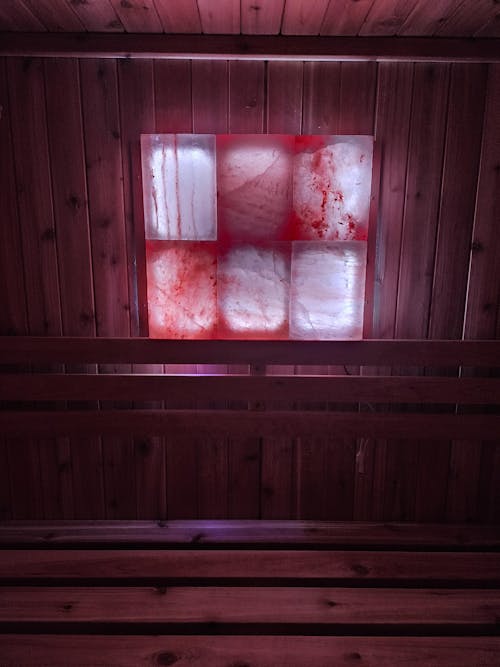
The salt panel was a great addition to our Madison Sauna. It has excellent grain which is accented by the amazing color lights that glow through the panel. Also when you hit the rocks with a splash of water you can feel the heat bounce off the panel. Great addition if you are considering this option.
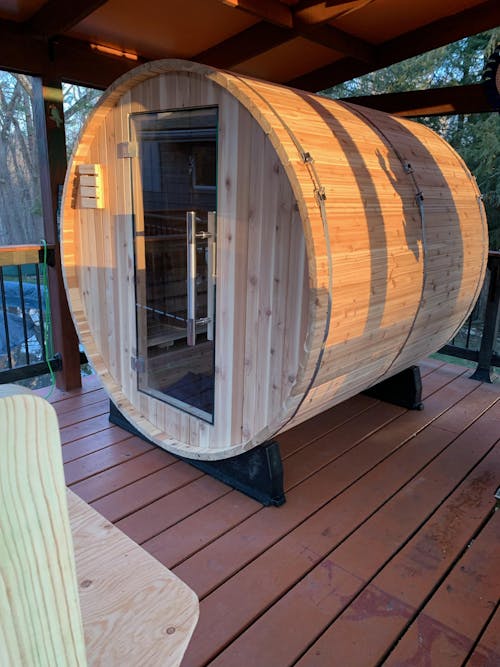
We can say enough about Sauna World there customer support is great! Our Pinnacle Sauna from Almost Heaven is epic.
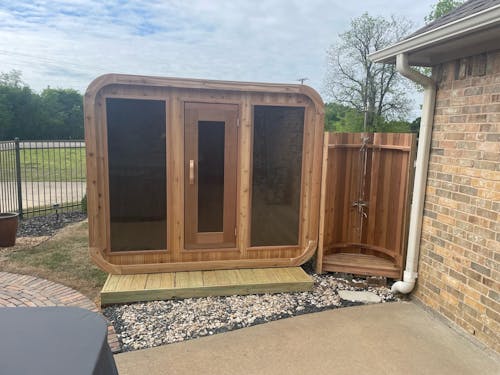
The finish and quality is outstanding and it was quick and easy to assemble.
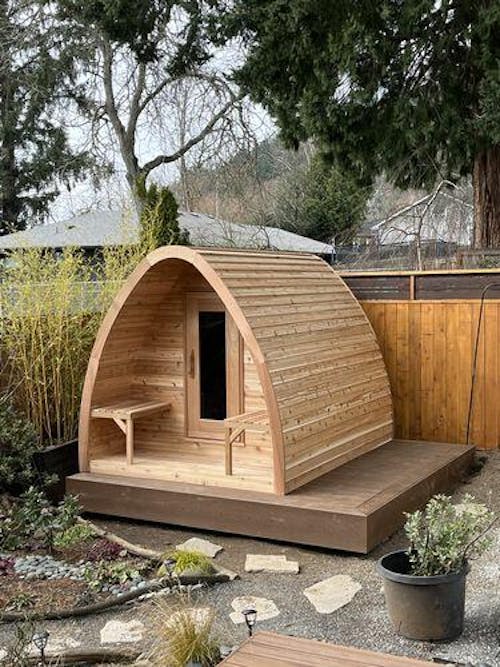
We are thrilled with our mini pod!! It came well shipped and our friend assembled it in 11 hours! Wow! We cannot wait to get healthy and sauna it up!
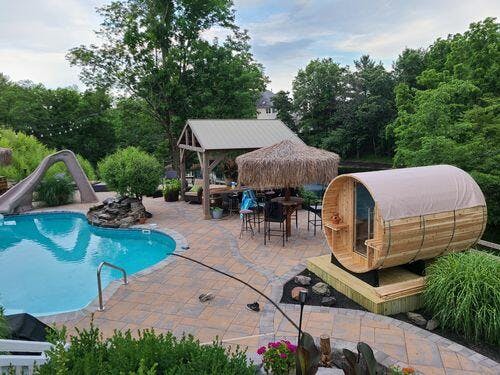
Beautiful sauna!!! Much easier than I expected to assemble, took a total of 4 hours. Can't wait to get warm by the pool on those cool evenings. Customer service was excellent..
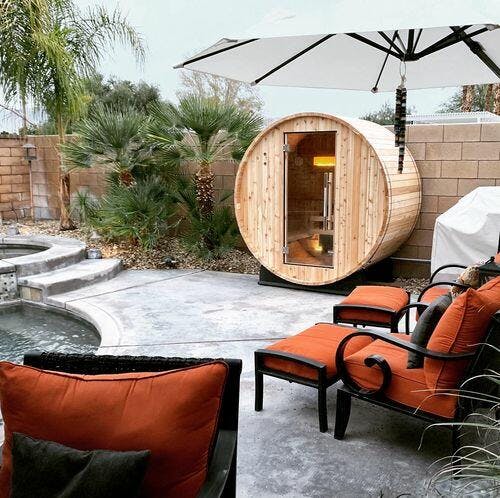
Purchased a 2 person Almost Heaven barrel sauna and were delighted with the product. The order process was quick and easy, the sauna arrived on-time, installation was simple, following the provided instructions, and the sauna is extremely high quality. We’ve used it daily for over 2 weeks and quite frankly I don’t know how we lived without it. If I had it to do over again I wouldn’t change a thing... except maybe purchasing a 4 person model to easier share with friends!
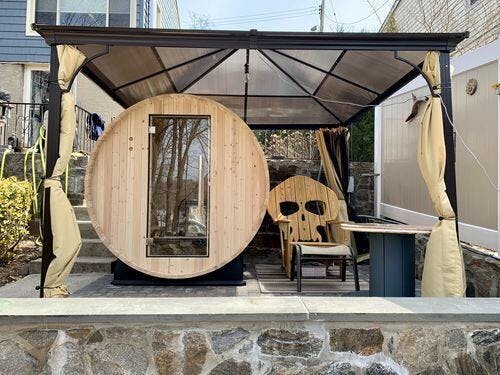
Great Customer Service and a breeze to put together.Excellent shipping and the Sauna is top notch, couldn’t be happier


